| |
 |
|
|
 |
Part I: plug in maps |
| |
Create a simple plane (either poly or nurbs r fine) |
| |
Download the trans_exer.zip |
| |
Plug in color map & transparent map (incandescence
map optional). |
| |
Change the persp camera's environment backgroud color
to light grey |
| |
Render out a image (640*480), submit it at DLWeb. |
| |
 |
|
|
|
Part 2: unwrap UV |
| |
Use all your low poly geometry models, |
| |
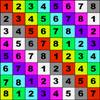
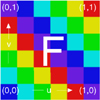
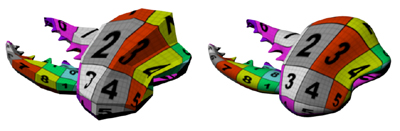
Unwarp the UV for all parts, put on given square texture
(u can use either one) |
| |
|
| |
You can review tutorial textureII.ppt
file (2.7M), or download maya
files we use in class to play with. |
| |
Note: all the NURB surface have UV come with it, so you
don't need to unwrap it, just put that texture on. |
| |
 |
| |
 |
| |
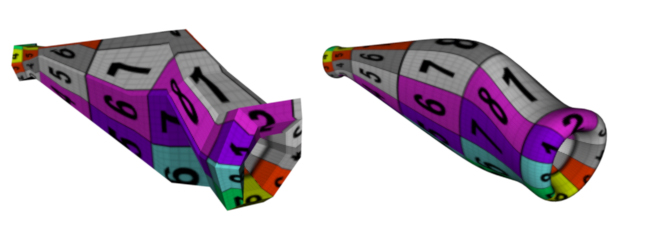
Render out your low poly version bug with this texture
on. and Submit it at DLWeb. |
|
|
|
Part 3: look ahead: work on the texture ( for
next week...) |
| |
Save UV Snapshot from UV edit window |
| |
Use Artisan tool to mark the keypoint if you need |
| |
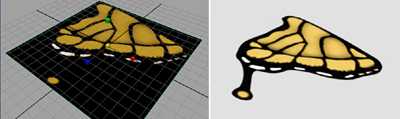
Putting in reference photo based on their UV map (most
work will be done in photoshop) |
| |
Then, replace the test square texture in color map. |
| |
|
|
|